My last post was right before we sold our house in Atlanta and moved to Ridgewood, NJ. As you can guess, that takes a LOT of time. I am happy to say everything went well and I am now finding myself some time to work on the cat. It took about 2 months to get the new shop ready as it needed everything done (painting, electrical, flooring, lift, etc). It really came out great (you will see new pics soon). Registering wasn't too bad. I didn't register the pantera as a classic so I went through emissions. It passed....but I will most likely do the classic plates next
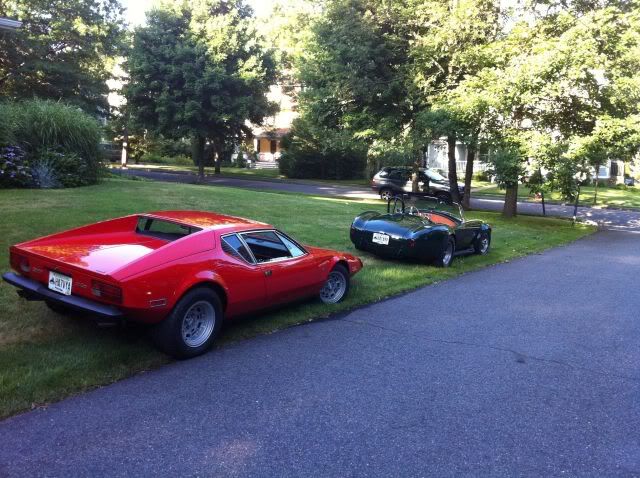
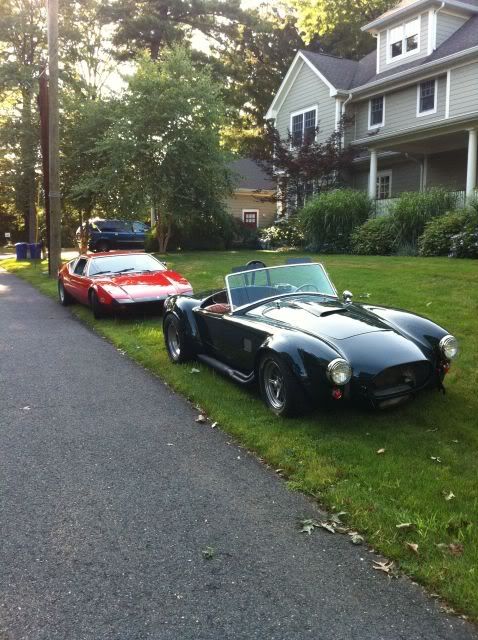
I took the Pantera to a car show in Ridgewood and got an offer from an online newsletter publisher to make it a monthly feature car. Will post more when I know more.
So what is next on the Pantera?
1.) I am still getting a rattle in the right front...I replaced the steering rack so it must be something else
2.) Passenger side mirror: I almost side swiped our family car because of the big blind spot on passenger side. I bought a passenger side mirror to install to avoid that tragedy
3.) Dent Removal: Want to have some of the dimples looked at and possibly pulled out
4.) Carpet: I want to replace the carpet in the front luggage compartment
That is probably it for now.