Saturday, October 30, 2010
Fuel Tank Side Fuel Hoses Retrofit
I decided I wanted to get the first part of the fuel system retrofitted with new hoses. Nothing like 36 year old hoses cracking and spewing fuel on hot headers! I started with the fuel filler neck hose…..OH MY GOD..what a pain in the a$$. It literally took me a few weeks to get the right combo. The wining touch was some clear racing cell filler tube and my wife’s uncle, Sotiris. This was definitely a one man job and without his help, I wouldn’t be writing this. Next up was the fuel pump hose. I do have a new fuel sender gauge but I am not installing it yet. I cleaned up the wiring to see if there maybe was an issue with corrosion or something. Will find out soon. I wrapped the fuel hose in a heat resistant mesh cover. I wanted to avoid vapor lock so that will be a nice addition to the engine compartment. I also have a new fuel pump because the car was stalling. It might be a float level issue or it might be the pump. Either way, I’ll go through a process of elimination. My goal is to just make this a driver at this point. Pics below:
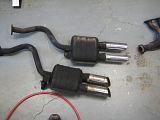
Exhaust Install
The exhaust system was looking rough but solid so I decided to give them a similar Jet Hot Coating as the headers so there would be more continuity in the system. I bought all new brackets, seals, bolts, etc. Jet hot did a good job not coating the chrome tips. The system installed great and I can’t wait to start it up and hear the new headers with the stock tailpipes.


Thursday, October 28, 2010
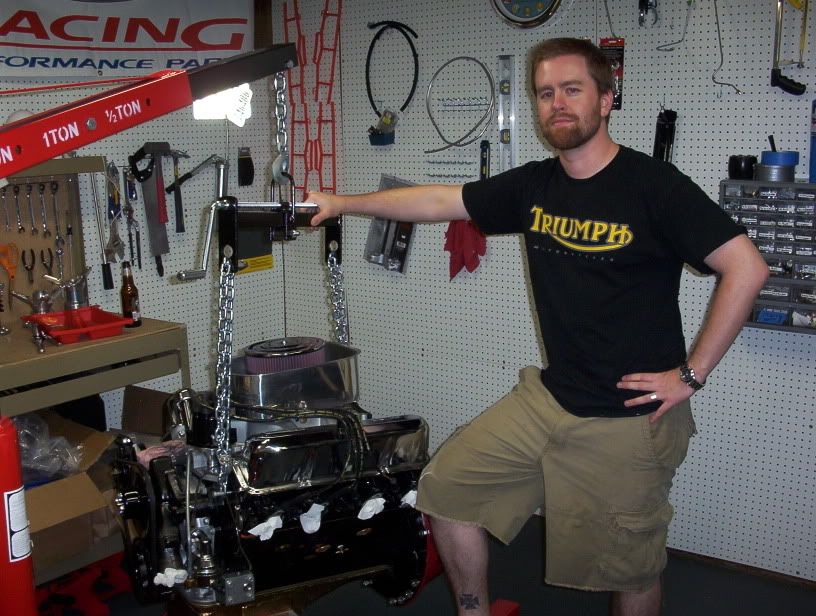
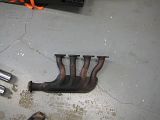
Header Installation
I decided to go with the Hall big bore headers. I had them jet hot coated satin black as I wanted the engine bay to look somewhat stock. I had heard a lot about Stage 8 locking fasteners so I thought I would try their headerbolts. Basically, they lock the bolt in place which should make it so I don’t have to snug down the bolts again in the future. I cleaned the surface of the block and I got a new crush-type header gasket that guarantees no leaks. I put the headers into position and they fit great. You can see below some of the stage 8’s installed. I made sure to put anti-seize I still have a couple more locks to put on but wanted to do a test fire first before closing everything up.


Monday, August 9, 2010
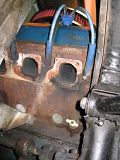
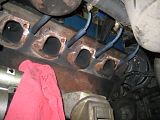
Exhaust System: Removal
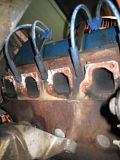
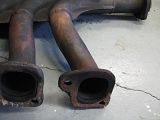
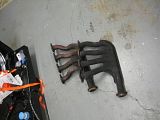
I have a terrible exhaust leak at the headers so I decided that I should just refurb the whole system. My plan is to get some new headers and send out the rear exhaust for a new coating. The first challenge was to get the headers off. I don't think these headers have ever been removed and I am deathly afraid of breaking off an old bolt in the head. If I did, I would have to remove the whole engine....and I didn't want to do that. I spent about 3 weeks soaking and working on the bolts. I started with normal penetrants then on the advice of some pantera forum members, I created a 50/50 mix of Acetone and ATF fluid. I finally got all the header bolts off and the rear exhaust system. Not only did I have one exhaust leak, I had around four in total! You can see the leaks where the heads are charred.
I prepped the rear exhaust and sent it off to Jet Hot for coating in black. I have also ordered a set of headers from Hall with black coating as well. I'll cover install in the next entry.


I prepped the rear exhaust and sent it off to Jet Hot for coating in black. I have also ordered a set of headers from Hall with black coating as well. I'll cover install in the next entry.


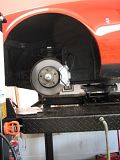
Steering Rack Rebuild
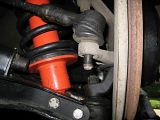
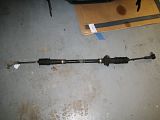
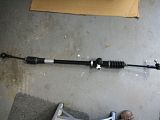
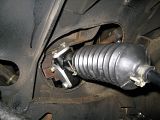
After I got the news from GTE that my steering rack was in bad shape, I decided to send the rack out for a total rebuild. I sent the rack off to Pantera Performance. The rack came back looking brand new. See pics below:

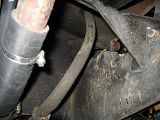
Old Rack Out
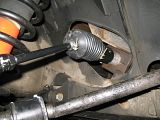
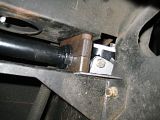


Old Rack Out

New Rack Back!


Subscribe to:
Posts (Atom)